Required materials
- Body filler compound (bondo)
- Filler primer spray paint
- Sandpaper 80, 180, 320 grit
- Masking tape
- 2-part epoxy
- Rust oleum deep mint
Step 1
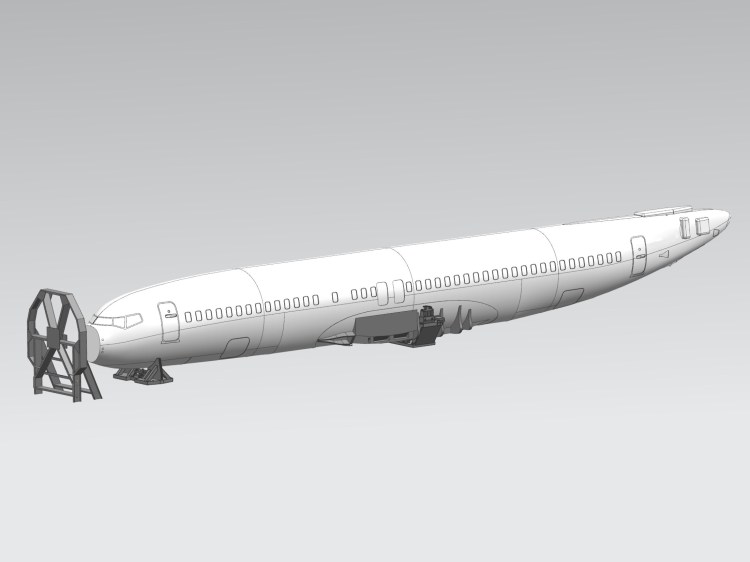
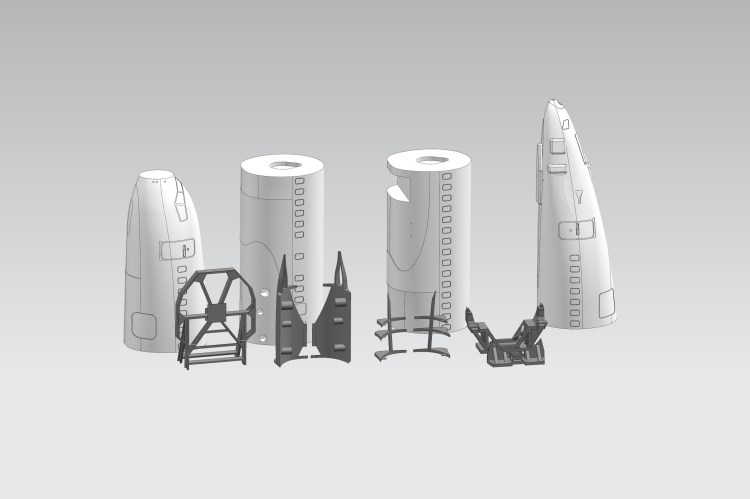
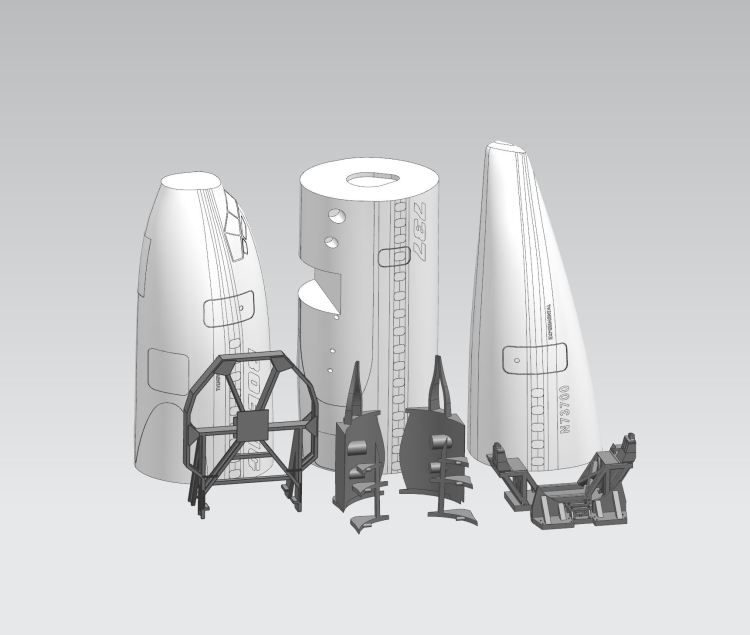
Frist thing is you should take inventory to make sure that you have all your parts. There should be four sections for 737-800 fuselage and three for the 737-100. Both kits will have four detail sections that will be place on the sides of the fuselage around the wing sections. There should also be two cradles and one ice breaker.
Step 2
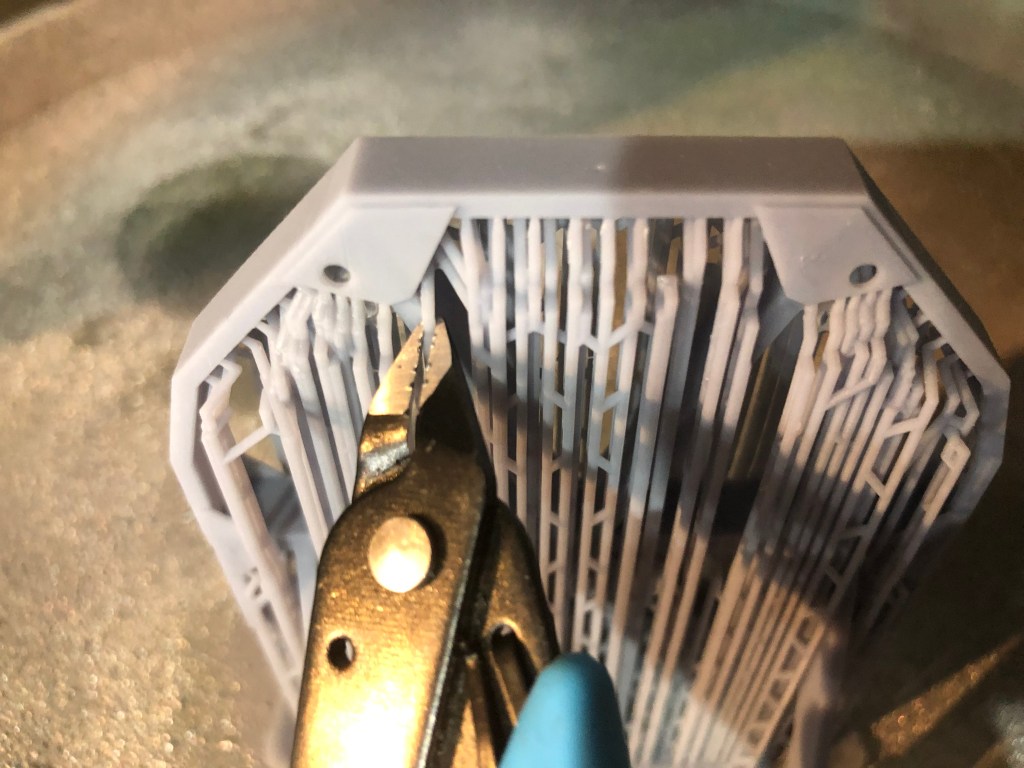
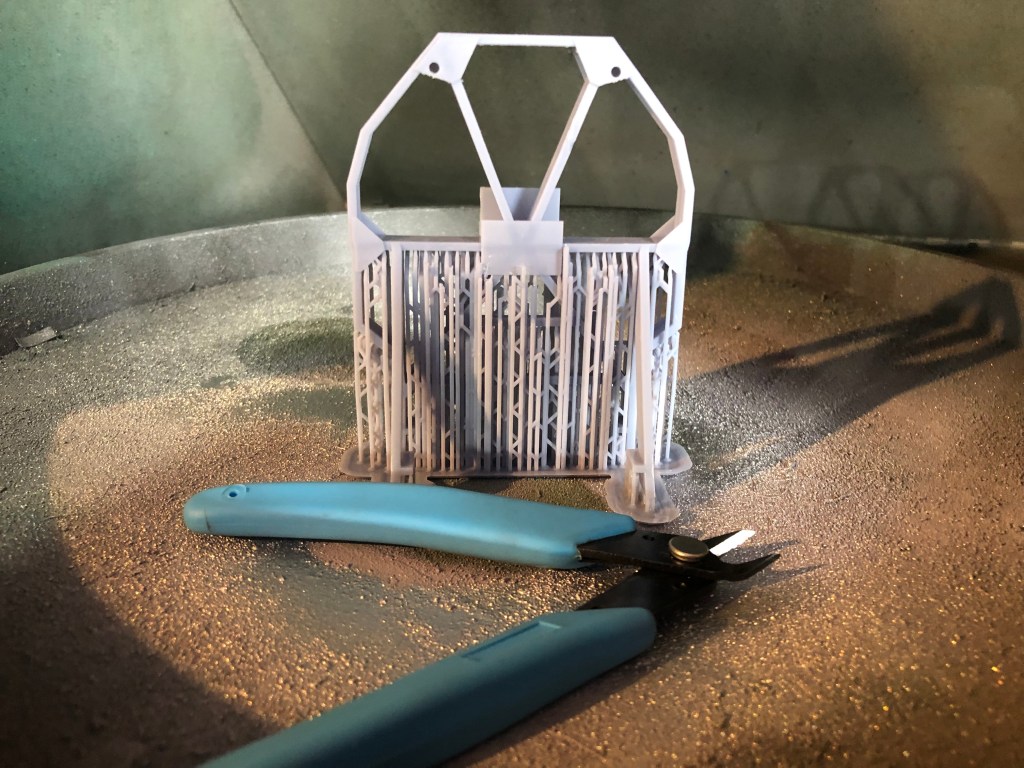
Some of the parts might still have supports attached to them. These will need to be remove. If you ever cut spruces off in traditional injection molded kits it the same process. Take a pair of flush cutter and carefully cut the supports off. Sometimes you can remove the support by hand but for best results use the cutters.
Step 3
Now we should be ready to glue the fuselage sections together. Ready some 2-part epoxy by follow the instruction on the package. Apply a generous amount of epoxy to the joint between the two sections. Next connect the two sections together. If a little epoxy comes out, then wipe it away with a paper towel before it cures. Its best to only glue two section at a time. Let the plane cure standing up so the epoxy doesn’t ooze out. The last section might be tricky, but I have found that I can balance the plane on its nose.
Step 4
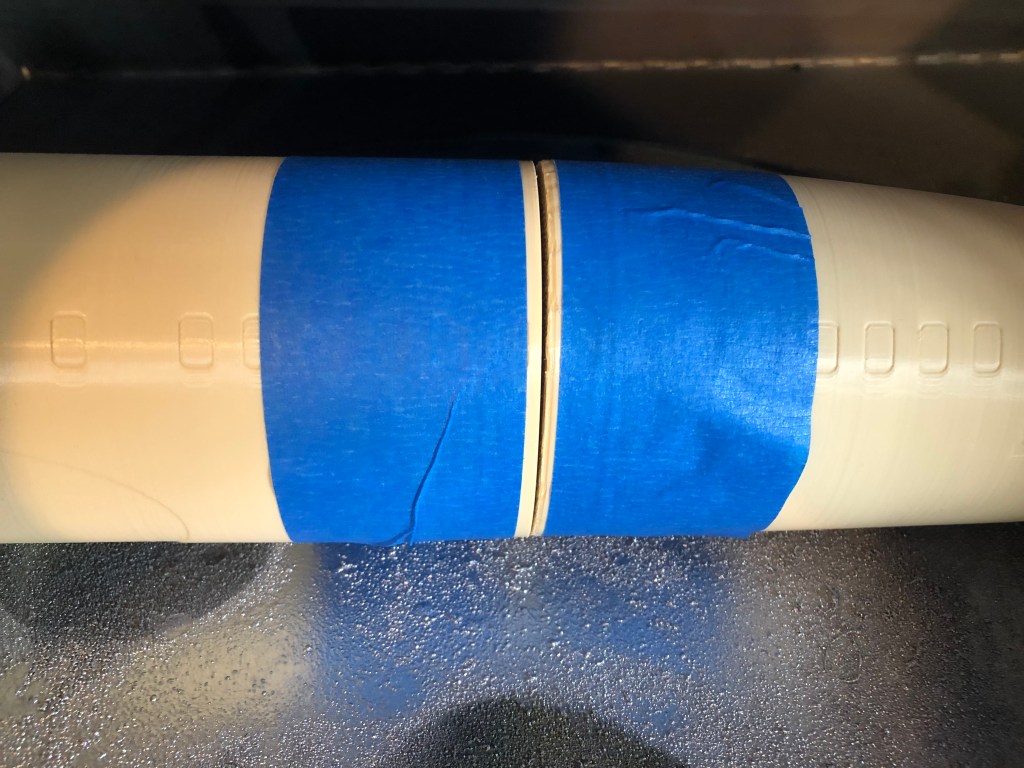
Now the fuselage is glued up we need to apply body filler to the joints. I found its best to mask of around the joint of the fuselage to help prevent any unwanted body filler from filling in the detail on the side of the fuselage. This also helps build up the material around joint to help prevent low spots when sanding. Make a small batch of body filler follow the instruction on the package. It best to have some gloves on when applying the body filler. Either use your finger or a popsicle stick to apply the body filler. Once your done it best to remove the masking tape now so that the body filler doesn’t harden on top of the masking tape.
Step 5
Now we need to apply our first coat of primer filler. Primer filler is a thick primer that will help us fill the print lines. Follow the instruction on the can for best practices. Apply one thick coat to start. Once dry the fuselage it ready for sanding. I start with 80 grit to quickly remove the print lines the plastic and some time be hard to sand, so having a low grit sand paper helps. If your happy then move on to the next grit. It important to mention that sometimes you will need more primer filler and you can add an extra coat if you feel its needed. However, be careful not to over do it. It very easy to smooth out the detail in the side of the fuselage. These details are important because they will help with painting later.
Step 6
After sanding the fuselage smooth you are ready for paint. The main body should be painted with a light green color. I typically use Rust-Oleum Deep Mint, its not a prefect match but is very close. Once you’re done with the base coat, it time for masking. Using the details in the side of the fuselage mask off area that need to remain green. Its best to use reference photos for determining which area need to be masked off. Apply the secondary colors as needed in different areas.
It also a good idea to paint the cradles and ice breaker. If don’t have a good base coat of paint they can over time break down under UV light. They also tend to look better as well.
Its Important to note that the light grey parts are dissolved in alcohol. Be careful what paints you use on them. Most spray paints with soften the parts and take weeks to cure. Its best to use acrylic or other water-based paints. If you are unsure your paint will work, test it out on the support material that you removed earlier.
Step 7
Assembly is straight forward. The side details are keyed, so they only go on the fuselage one way. Test fit them to make sure they work okay. If it hard to press side details, then drill the holes in the fuselage out a bit to get more clearance. Its best to then glue the side details to the fuselage so they don’t get broken. CA glue works best but epoxy will also work for attaching these parts.